Hello, this is a mini-tutorial about how to add new pages via the routes system.
Full documentation here: http://framework7.io/docs/routes.html
Every page most be defined as a route in order for Framework7 to know what to do with it and how to find it.
First step: Create a new page in the folder pages, we’ll call it hello.html with this contents:
<div class="page" data-name="about">
  <div class="navbar">
    <div class="navbar-inner sliding">
      <div class="left">
        <a href="#" class="link back">
          <i class="icon icon-back"></i>
          <span class="if-not-md">Back</span>
        </a>
      </div>
      <div class="title">Hello</div>
    </div>
  </div>
  <div class="page-content">
    <div class="block-title">Hello there!</div>
    <div class="block block-strong">
      <p>Adding new pages is easy in Framework7!.</p>
    </div>
  </div>
</div>
Second step: Define the route
Routes are defined in a file called ‘routes.js’ (they can also be defined in other places, but for now lets stick to the defaults) and they are a list of routes with many options, this is the most basic configuration.
Go to js/routes.js and add a new entry, we’ll put it right after the about page that we edited last time, and the end code should look like this:
{
    path: '/about/',
    url: './pages/about.html',
  },
   {
    path: '/hello/',
    url: './pages/hello.html',
  },
The path is how you will access the page using links and other methods, the url is where the actual page is located in your application’s folder, it could be in other places as well.
Third step: Lets give user’s a way to actually access the page.
We’ll put a link in the index page, but again, this could be anywhere.
Open index.html and find this line of code, it should be around line 50:
<li><a href="/left-page-1/">Left Page 1</a></li>
now add our new url before it:
<li><a href="/hello/" data-view=".view-main">Hello</a></li>
So the end result will look like this:
<li><a href="/hello/" data-view=".view-main">Hello</a></li>
<li><a href="/left-page-1/">Left Page 1</a></li>
It is important to notice this part data-view=".view-main", this tells the url where to ‘load’ the new page, this will be covered in detail in other tutorial but you can read the documentation about it here: http://framework7.io/docs/view.html
This is how it should look in your app, notice the menu entry that says ‘Hello’.
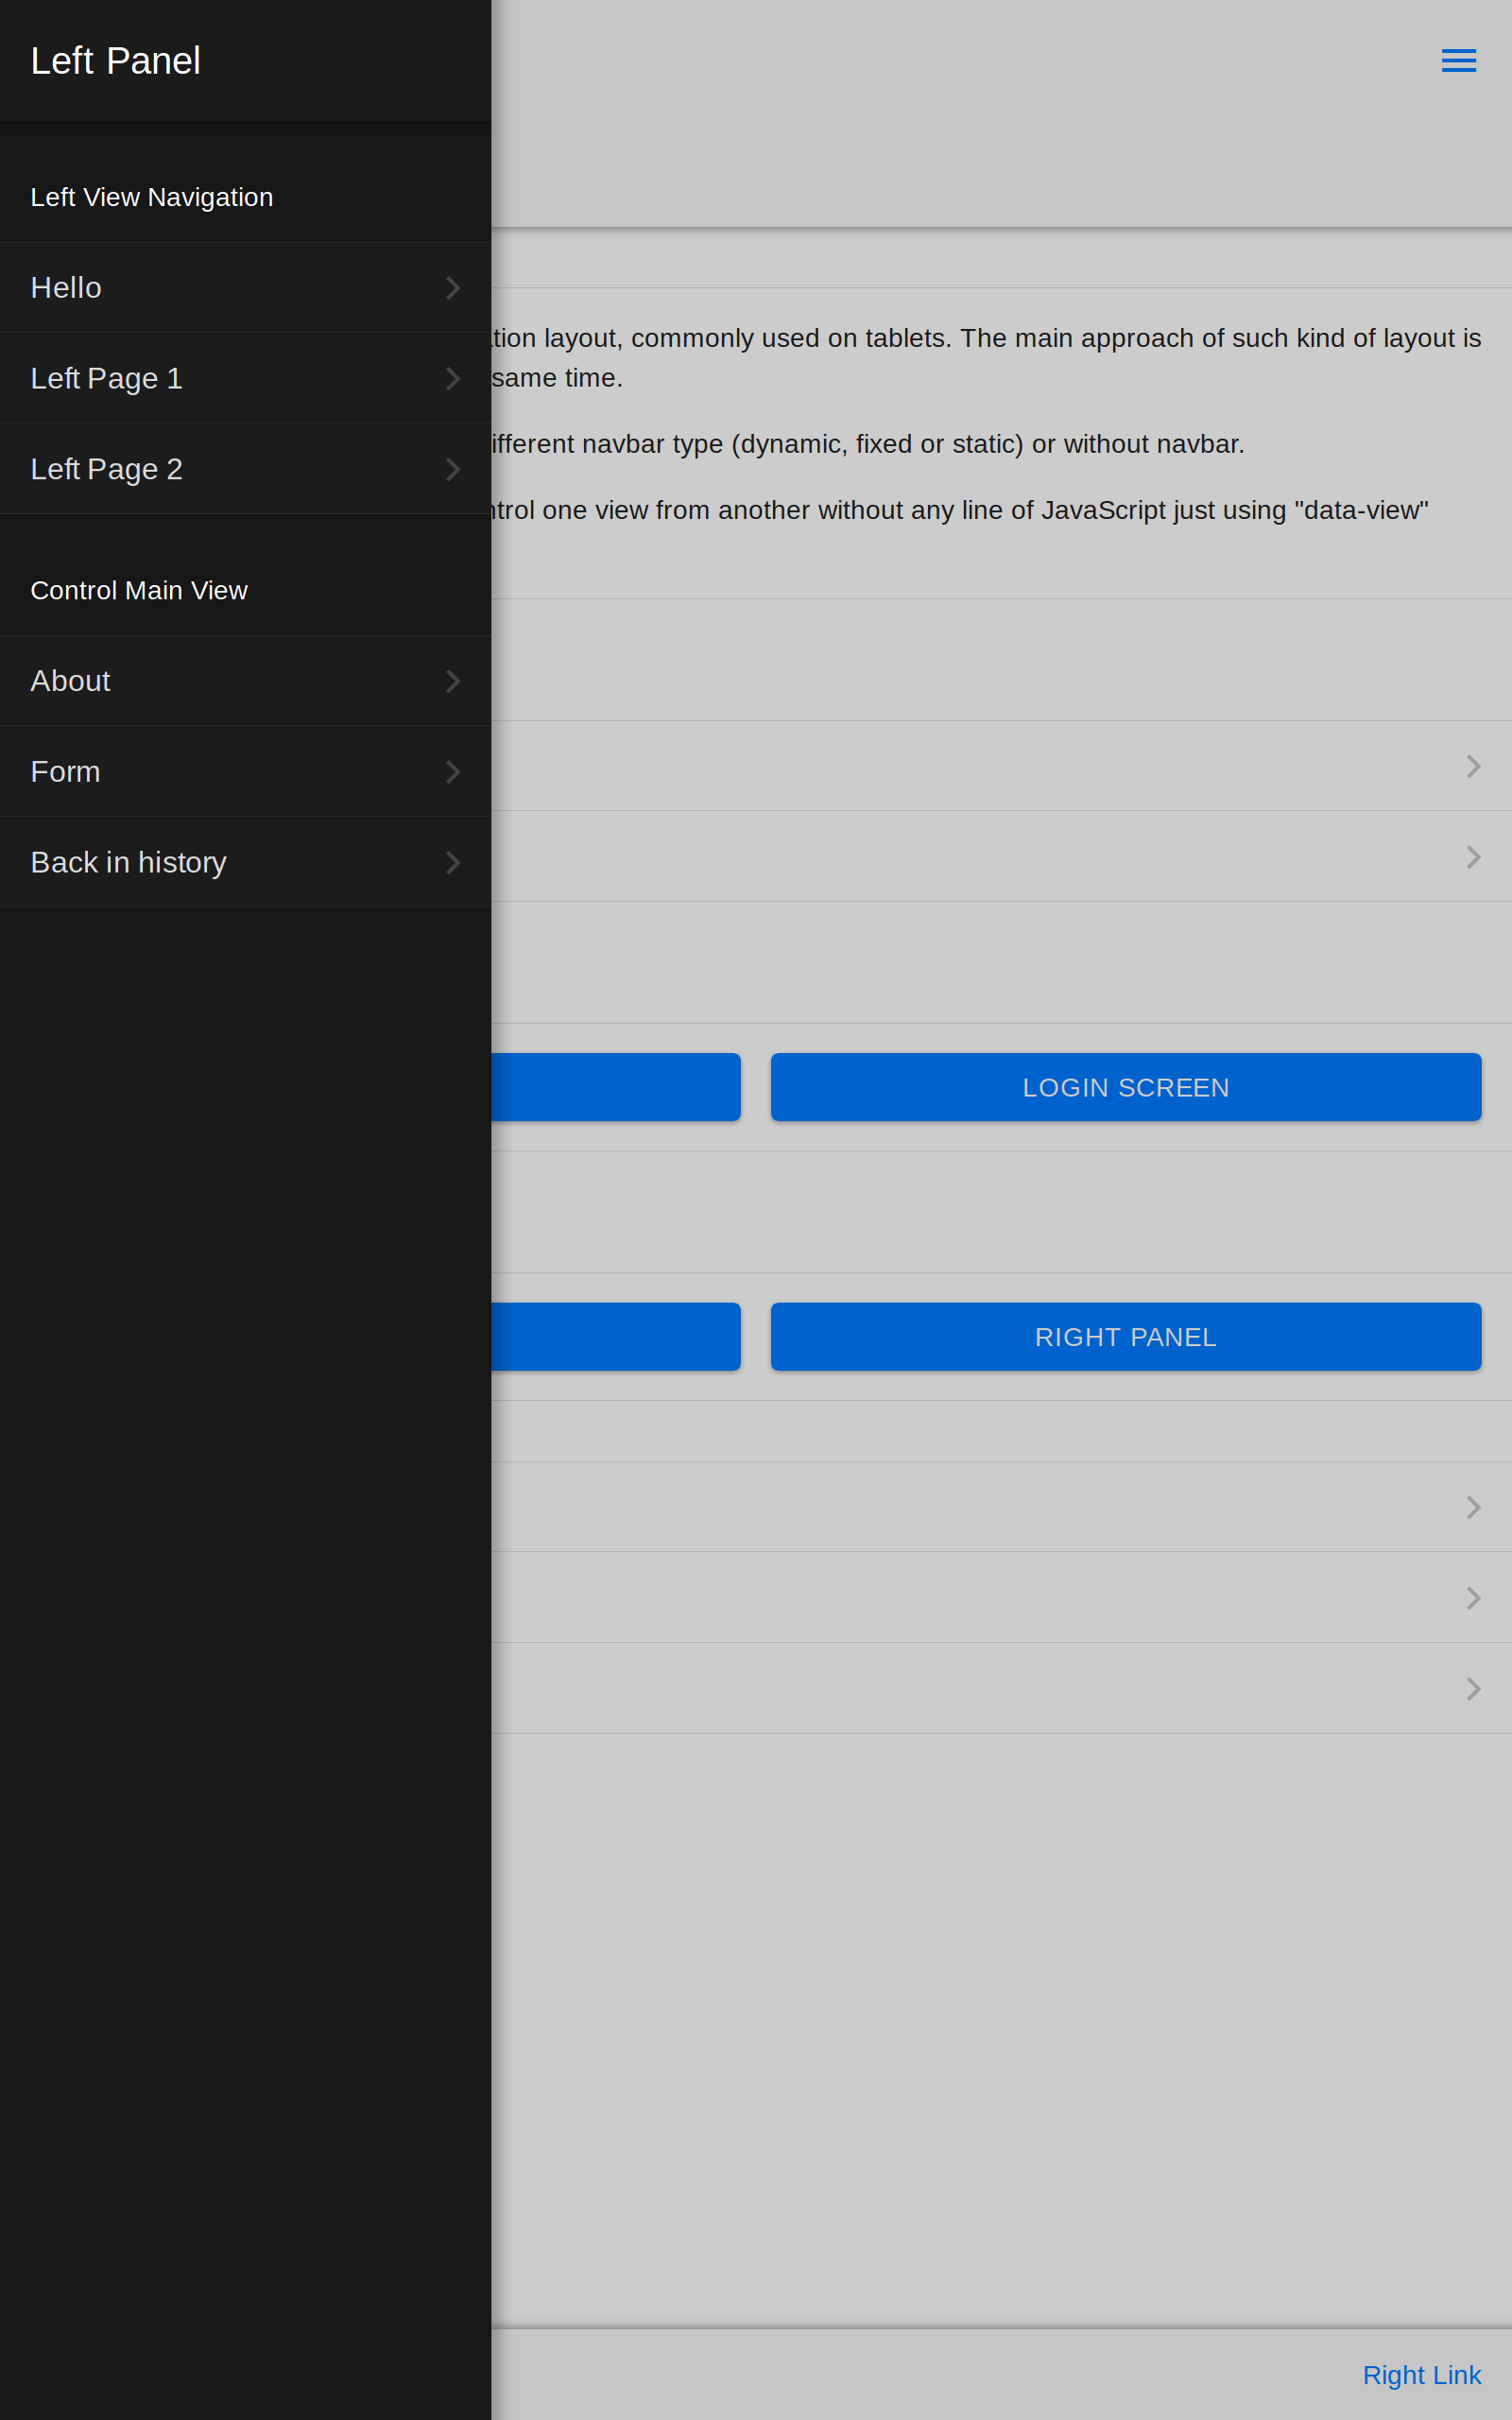
And that is it. You may click on the new menu and see how it loads your new page.
Now lets make it a bit more dynamic, we can do this directly in the routes file, you may see all the options in the documentation mentioned before.
Open the file js/routes.js and modify the entry we did before, it should end up looking like this:
{
path: '/hello/',
url: './pages/hello.html',
on: {
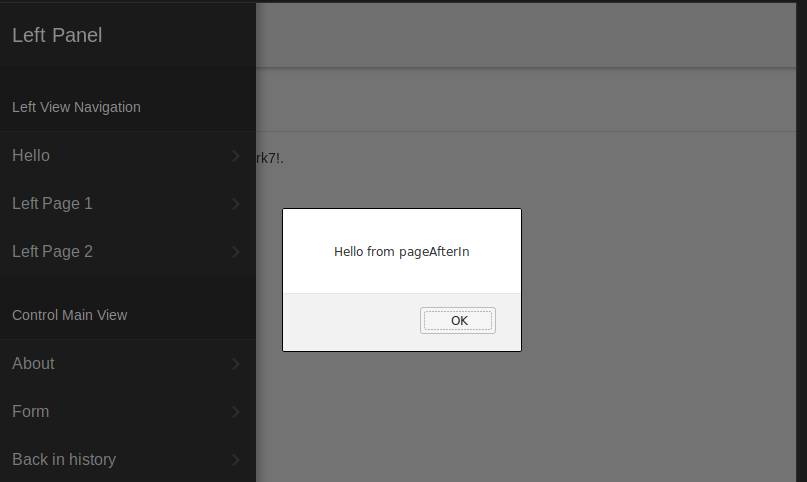
pageAfterIn: function test (e, page) {
alert('Hello from pageAfterIn');
},
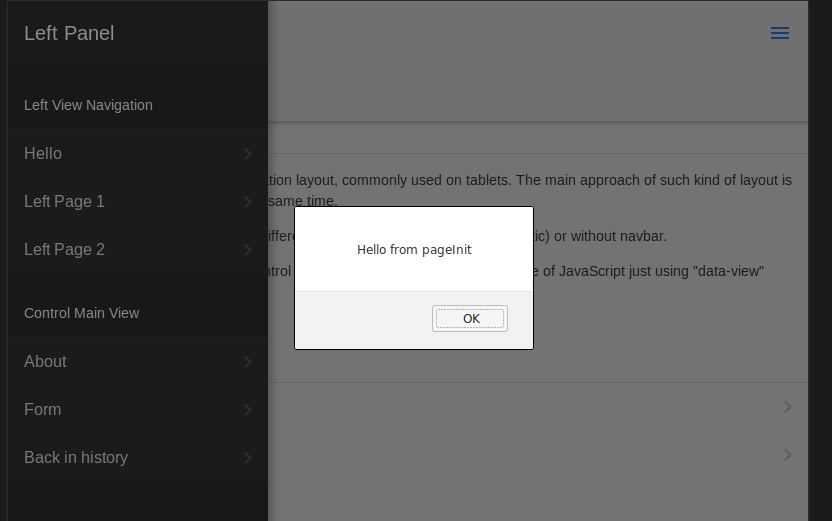
pageInit: function (e, page) {
alert('Hello from pageInit');
},
}
},
This are really good tools that will help you automate the process of presenting a new page in your app. If you need to fire up any kind of processes during initiation or unloading of a page, this is one way to do it.
This notifications will look like this:
There are other kinds of pages with more dynamic content, we’ll see those in another tutorial.